Blog

Fully automatic photography turntable

By this time we have lots of experience in making photos for the documentation and the shop. Our equipment got steadily better over time. What we were still missing was a turntable that would allow us to make 360° pictures. A professional photography turntable is super expensive, so we made our own!

In front we will show you the resulting 360° photo of the finished turntable and a small video that shows it in action (the video is of low quality, we took it with a smart phone, the camera was used otherwise for obvious reasons ;-) ).

360° Photography of a Bricklet.

From the system of Tinkerforge building blocks we used a Industrial Quad Relay Bricklet and a Stepper Brick. The source code that controls the Stepper Brick and the Quad Relay Bricklet can be found on github.

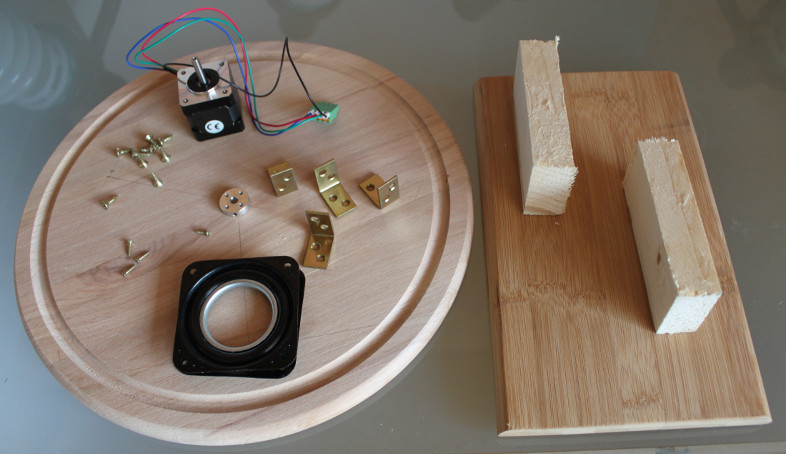
There are only a few ingredients needed to build a turntable:

https://www.tinkerforge.com/static/img/_stuff/photography_turn_table_1.jpg

We used a stepper motor (14€) and a hub (6€) from Pololu as well as two cutting boards (1€, 3€) as table and foot. In addition we bought a rotary ball bearing from ebay (10€) and we use a few wood offcuts as spacer and brackets/screws from our scrap box.

In sum: Not too expensive!

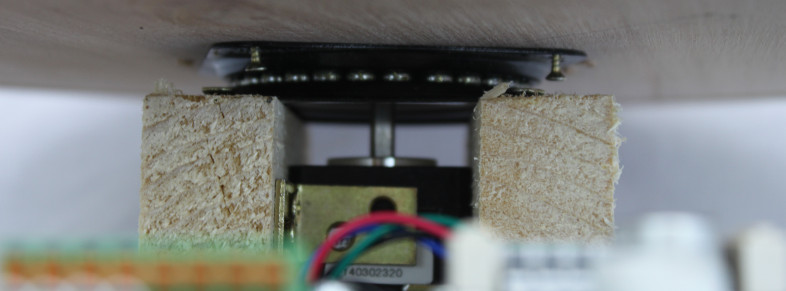
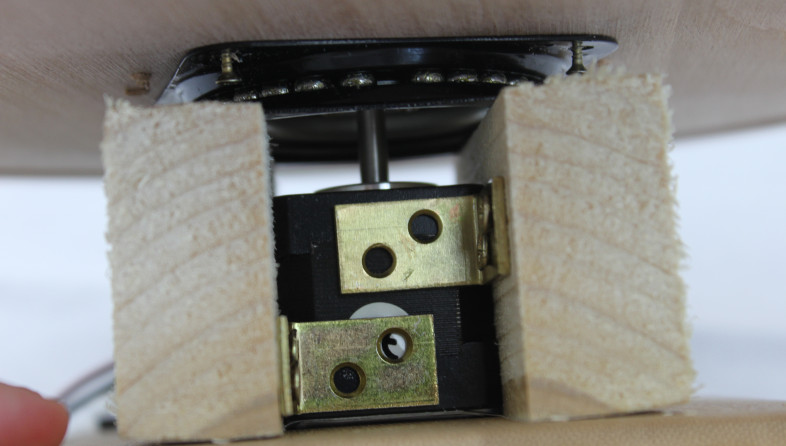
After we screwed the ball bearing to the top board, the stepper brick to the hub, the spacers to the bottom board, as well as the brackets between the spacers, the whole assembly looks as follows:

https://www.tinkerforge.com/static/img/_stuff/photography_turn_table_2.jpghttps://www.tinkerforge.com/static/img/_stuff/photography_turn_table_3.jpg

You probably noticed that the screws that connect the rotary ball bearing to the top board are not completely screwed in. This was unfortunately necessary because of the high quality of the ball bearing. The ball bearing, which we bought used from ebay is super smooth-running, it can carry 250kg and it has no clearance whatsoever. The latter turned out to be a problem.

Since the hub is directly connected to the stepper motor which in turn has its place because of the position of the ball bearing, the hub has to be perfectly in the middle of the ball bearing. If it is off by only 0.5mm the ball bearing will not turn. Oooops! Despite many tries to screw the hub exactly to the middle, we couldn’t do it as precise as needed. To fix the issue we gave the ball bearings a bit of clearance by not screwing it completely firm to the top board.

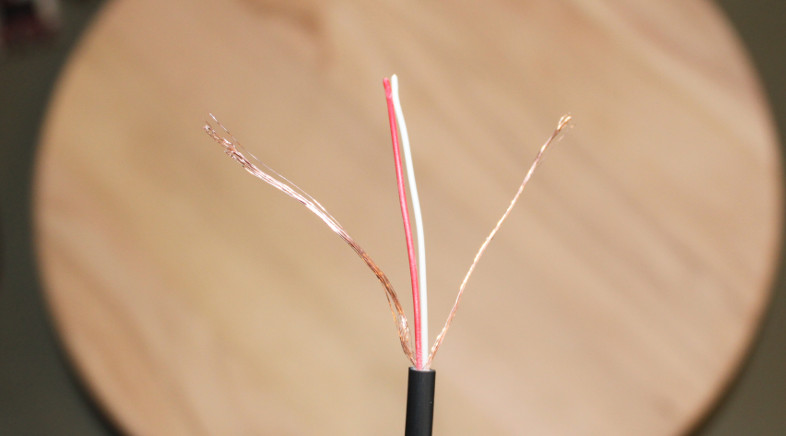
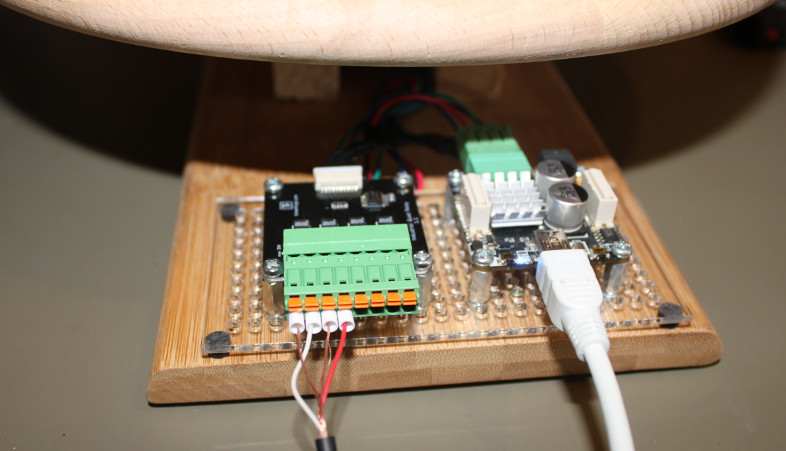
Now we have a turntable that we can control to drive to an arbitrary position. For a full automation we also need a possibility to automatically take a photograph. The trigger of our Canon 500D can be driven by a small 2.5mm audio jack. This jack has two strands and shielding. To focus we can connect the shield to the red strand and to trigger a photograph we can connect it to the white strand.

https://www.tinkerforge.com/static/img/_stuff/photography_turn_table_4.jpghttps://www.tinkerforge.com/static/img/_stuff/photography_turn_table_5.jpghttps://www.tinkerforge.com/static/img/_stuff/photography_turn_table_6.jpg

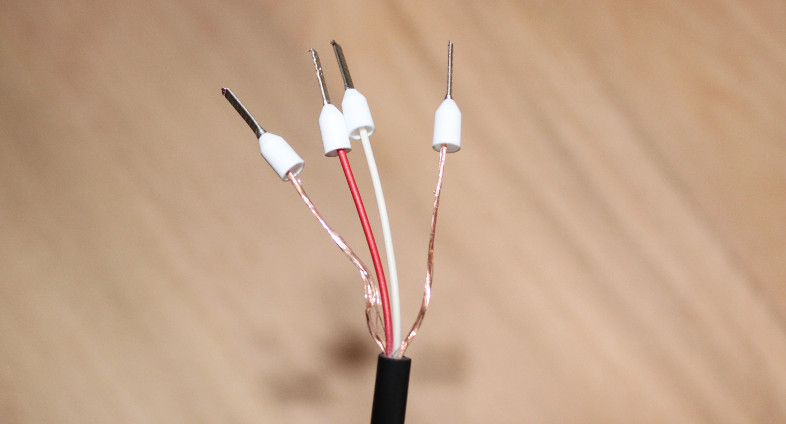
We opened up an audio jack cable and gave the strands and the shielding some wire end sleeves. The resulting four wires can be connected to the Industrial Quad Relay Bricklet. Now we can trigger a photograph by switching relay 1 and we can focus be switching relay 2. That was easy!

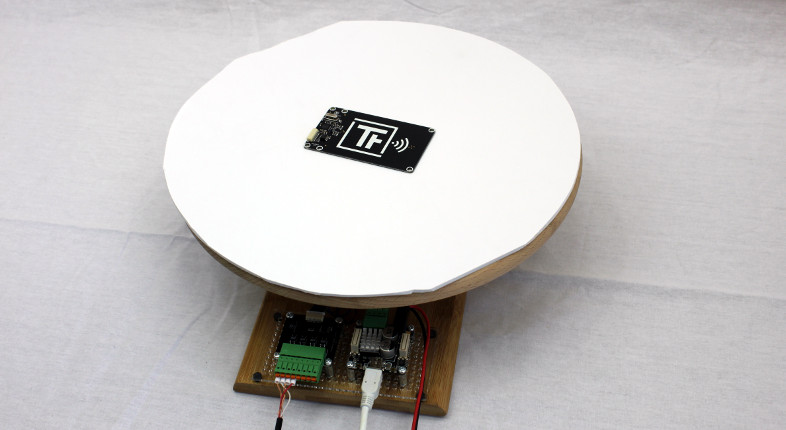
The end result with a white photo pad on top of the board looks as follows:

https://www.tinkerforge.com/static/img/_stuff/photography_turn_table_7.jpg

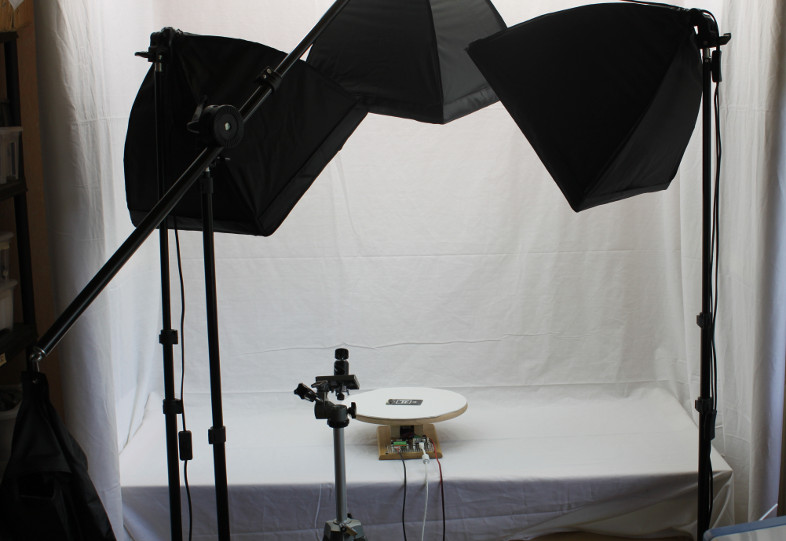
It fits like a charm in our (of course also self-made) photo booth!

https://www.tinkerforge.com/static/img/_stuff/photography_turn_table_8.jpg

API Bindings and package management

In the past our API Bindings installation and usage guides did assume that a user already knows one of our languages. In the last days we improved the old documentation considerably. It should now be possible to to install the API Bindings and test an example as a novice without having to look it up anything somewhere else.

You can find links to the usage and install guides for each language in our documentation.

One suggestions we got very often in the past was to use packages and package repositories for languages that have this feature. At first we didn’t like the idea since all of our Bindings are automatically generated and uploading a package to a repository adds an otherwise unnecessary manual step to the process of releasing new Bindings.

However, we got so many requests that we decided to add packages to repositories where it is easily possible for us. Currently we support Maven (Java), NPM (JavaScript), CPAN (Perl), PyPI (Python) and GEM (Ruby). This means, that you can install and update the Bindings for each these languages with one simple command line one-liner.

https://www.tinkerforge.com/static/img/_stuff/repo_logos.jpg

Java - Maven

Add dependency to your pom.xml

JavaScript - NPM

> npm -g install tinkerforge

Perl - CPAN

> cpanm Tinkerforge

Python - PyPI

> pip install tinkerforge

Ruby - GEM

> gem install tinkerforge

First LiveHacking in Hamburg

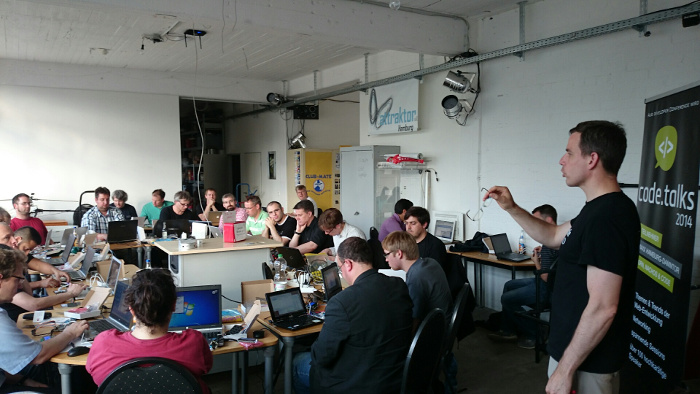
As we already wrote in the blog, the first LiveHacking in Hamburg took place yesterday:

https://www.tinkerforge.com/static/img/_stuff/live_hacking.jpg

It was organized by the Java User Group Hamburg, Sven Ruppert (Codecentric AG) and Alexander Bischof. Bastian was there to attend the event. The participants where invited in the accommodations of the “Hacker- und Makerspace Attraktor e.V” and could realize their ideas with the Tinkerforge building blocks. It was very nice to look over their shoulders and to discuss different ideas and possible improvements with the participants. We already released some of the suggested improvements today.

Sven has also written an article about the event. You can find it here (in German) .

More LiveHackings will take place all over the country. We will support Sven Ruppert on these events. Many thanks for all the positive feedback and the ideas for improvement! We look forward to the next events.

LED Strip Bricklet supports WS2811 and WS2812(B)

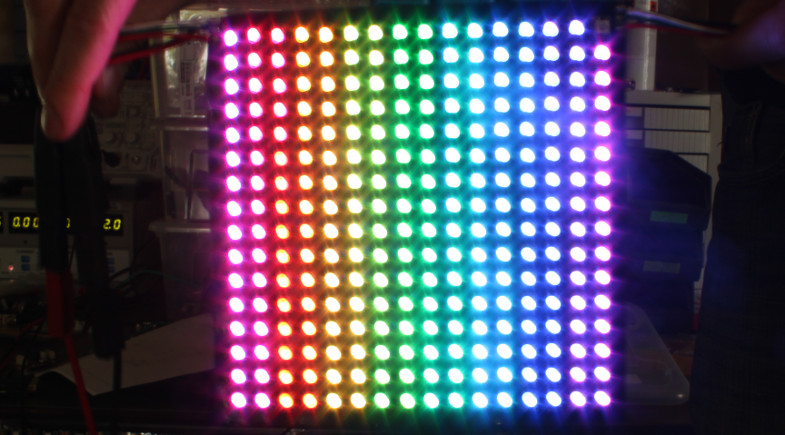
With the new firmware version 2.0.4 the LED Strip Bricklet now also supports the LED drivers WS2811, WS2812 and WS2812B (sometimes also called “NeoPixel”) additionally to the already supported driver WS2801.

The tested it with different LED strips as well as a 256 Pixel LED matrix from different manufacturers.

https://www.tinkerforge.com/static/img/_stuff/ws2812b_led_matrix.jpg

At the Maker Faire we also had a WS2812B strip connected to a RED Brick which was running two days straight without any hickups. The tutorials in the documentation has also been updated accordingly. It now also describes how you can connect the newly supported drivers (the clock line is not used anymore).

LiveHacking with Tinkerforge

https://www.tinkerforge.com/static/img/_stuff/jug_hamburg.jpg

There will be a whole series of events about “Tinkerforge and IoT” in different cities of Germany and around the World in the coming months. The first event will be on the 7th of July in Hamburg. The series of events is called LiveHacking and will be managed by Sven Ruppert. You can attend for free, a description can be found here (German).

Sven works for the Codecentric AG and does lots of lectures at Java User Groups (JUGs) and he writes for Jaxenter and EclipseMagazin. Currently he is engaged in “Internet of Things”. While searching for appropriate hardware for his events he found the Tinkerforge building blocks, which he will use to familiarize people with Java8 in the context of IoT.

Bastian (from Tinkerforge) will also be present at the event in Hamburg, which is unfortunately already booked out. More LiveHackings are however planned.